Assalamualaikum WBT to everyone. Welcome welcome to our blog. Purpose of this blog only for one of my last subject which is Culinary Arts Design. My class start at 9am until 5pm, surely have gap for rest solat and lunch. Firstly what we need to do before start the class, choosing partner. In this class we work as a team of 2 people, so I choose Fazrul as my subject partner. Then my lecturer Sir Azrul give a little brief about what we will doing or making during this class. So, straight to the point. Our first product, is swan. made of styrofoam. Each group get 2 of it and for only the swan we need to carve it individual.
Depends on this finished swan, we need to carve it our self but our lecturer will guide us also to makes sure we are not making big mistakes.
 |
| Example by Sir Azrul |
This is the styrofoam that we got, and first need to draw or sketch the swan so when we have the guideline and not wrongly cut the part we need and not.
 |
| Rough sketch of the swan |
Then we showed it so Sir Azrul will correct our sketch. Then we moved on to the next stage by cutting the unnecessary part like this...
 |
| Rough cut of the swan |
It was bad, I thought at it was a disaster but to truth is, this is the second step of carve a swan. Cutting through the lines we sketch and get the rough looked of the swan. Then we need to carve and get the swan neck and the front body.
 |
| Swan neck |
After we get the neck shape of the swan. Slowly we carve its head. Must be really careful because if we do it wrong, you will not get the nice head or maybe if you are unlucky, you will need to start it from scratch.
 |
| Swan head |
Now we can finally see the face of the swan. Next step, make a line between the swan back, and cutting all through its back. So we can carve its wings next.
 |
| From front |
 |
| Side look |
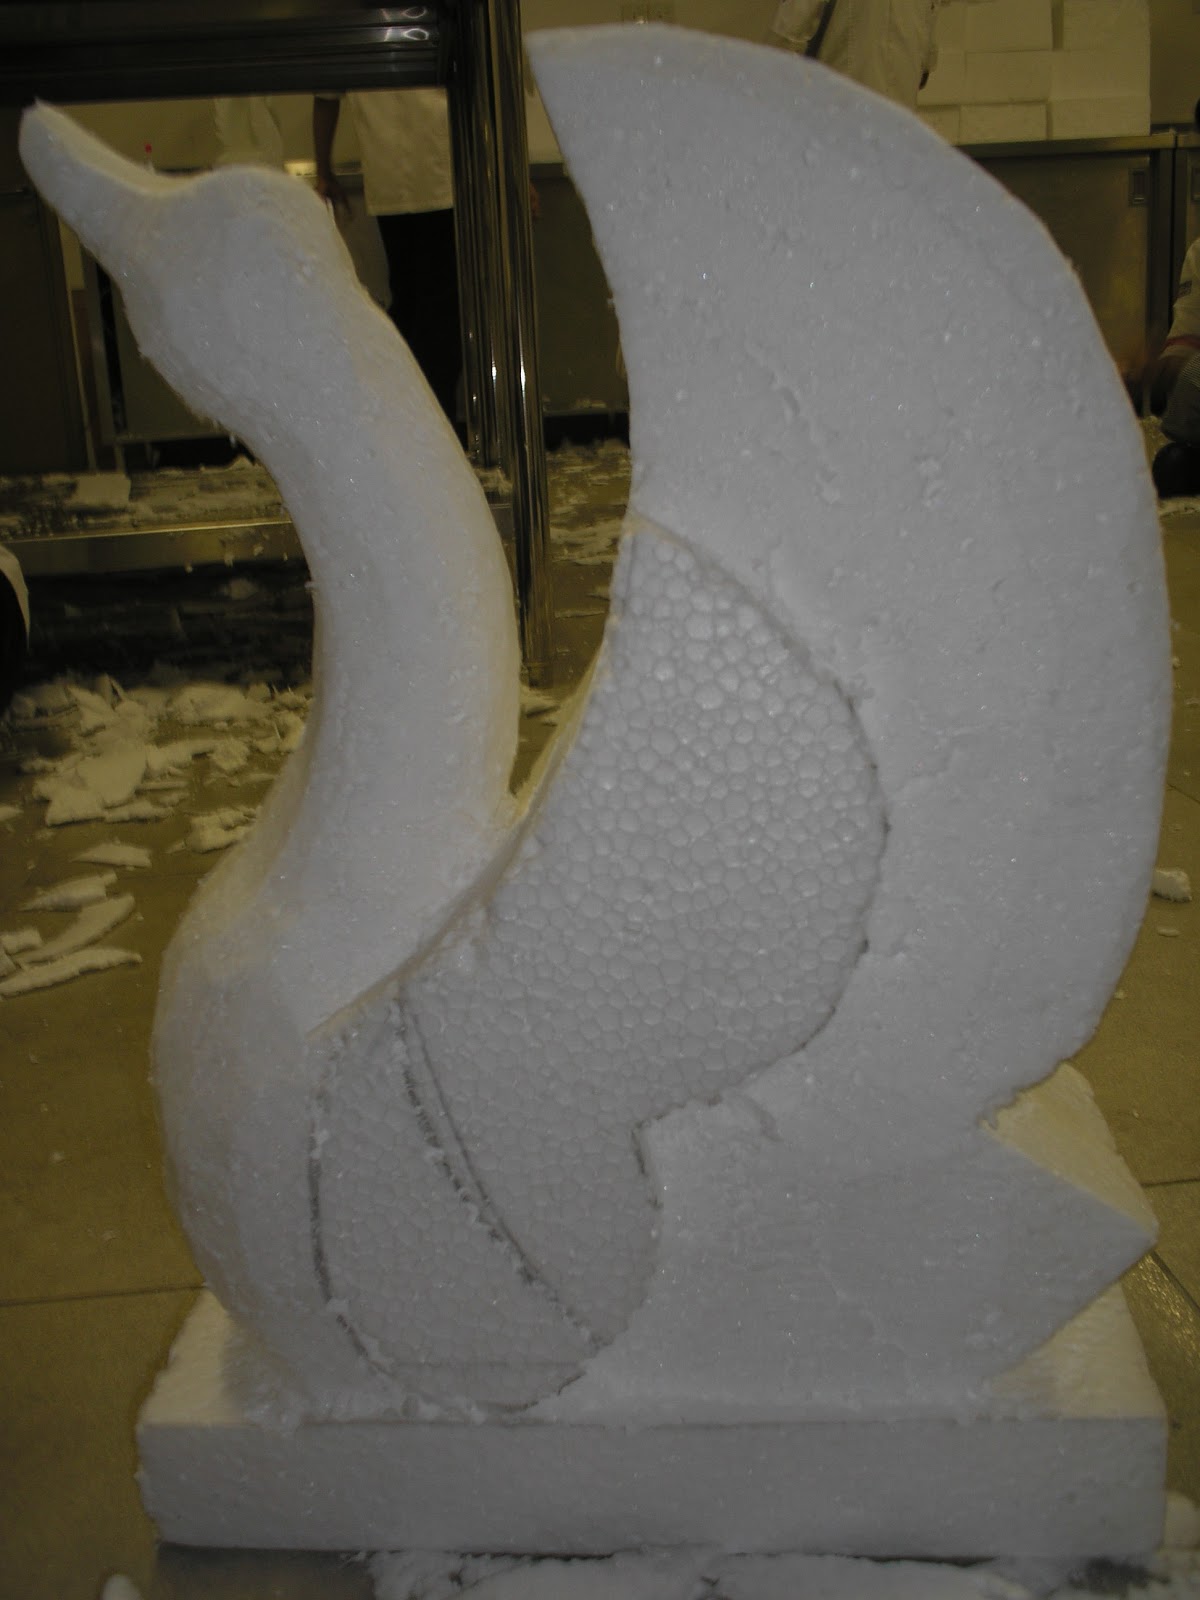
Now we can see the gap at its back, how it looked from front and from side. Again, we need to sketch the wings of the swan, to guide us from making mistakes.
 |
| The making of swan wings 1 |
Then...
 |
| The making of swan wings 2 |
Do it for the other side as well and finished it withe the inside, so it will looked like a double of wings, short and long.
 |
| Finish product |
These are the important steps that I simplify for you ~ Finished...