Friday 15 February 2013

Basket bread basket but Grr Soo hard & Choc time ! Ohh sculpture not to eat ?

Okay okay. Bread basket or basket bread? Argh never mind. It is the fourth product of Culinary arts design class. Hahahaha. Okay, Sorry to say, that picture the steps of this product was disappear or maybe accidentally delete by me. Want a bread basket? first we need a dough. So the first step is making the dough. using the normal recipe for bread but don't put any baking powder o same purpose as it because what we need is the Dead Dough. Then I'm asking Sir Azrul, why do we using the dead dough? can we just using the normal bread dough? He answered, because we need it harden and keep it original form as we make it. Okay.
Example of  dead dough before bake
In making of Bread basket, we were using back of mixing bowl as framer and bake with it. Okay let us see a video...

And this is the final product after some assemble . . Lalalala ~
Set of France Bread
Next Choc ~ sorry because I mixed the post of two product. Like I said earlier, maybe accidentally deleted. :( but never mind, just keep reading. Hehe ^^ First in molding chocolate, melt the chocolate then pour it like this...
Refrigerated Chocolate
and cut it out to any figure or design you wanted. Also you can melt the chocolate on a balloon and after it harden, you can blow up the balloon and leave the chocolate form the balloon shape. It's depends on our creativity.

Bread Basket and Chocolate Sculpture after finished
Thank you for supporting ~ Hihi though you're not commenting on the blog but you did asked at message and other social site because I'm sharing there first because easier ... Lalalalala ~
Waalaikum'salam WBT...


Sunday 6 January 2013

Making Sculpture Using Sugar Pastillage

Not realized, actually i'm already on week 5 of my last semester. Haha and for our third product, pastillage. First time hearing it i was blurred and don't even know what is that pastillage. Sir Azrul told us it is actually a dough of icing sugar and gelatin.
pastillage dough recipe
 and I was Ohhh. But still what it can do? So he said this dough is used to make a sculpture because after a several hours, it may become hard but it can be easily break if thin. So our patience is really important and  also our creativity to makes our ow Pastillage Sculpture ...
Sketch of our pastillage
As you can see above, that is our sketch and inspired by this picture that was found on google...


Yeah we only take the idea from the flower and give it a new looked and mix it with our idea. Though it was just our first time but we take risk in making something seem hard...

pastillage dough

It must keep seal because if not. it will dried become hard and wasted because cannot be shape...

Fazrul thin the dough using
pastry roller to get the ideal thickness
for every part of our sculpture.
Petals
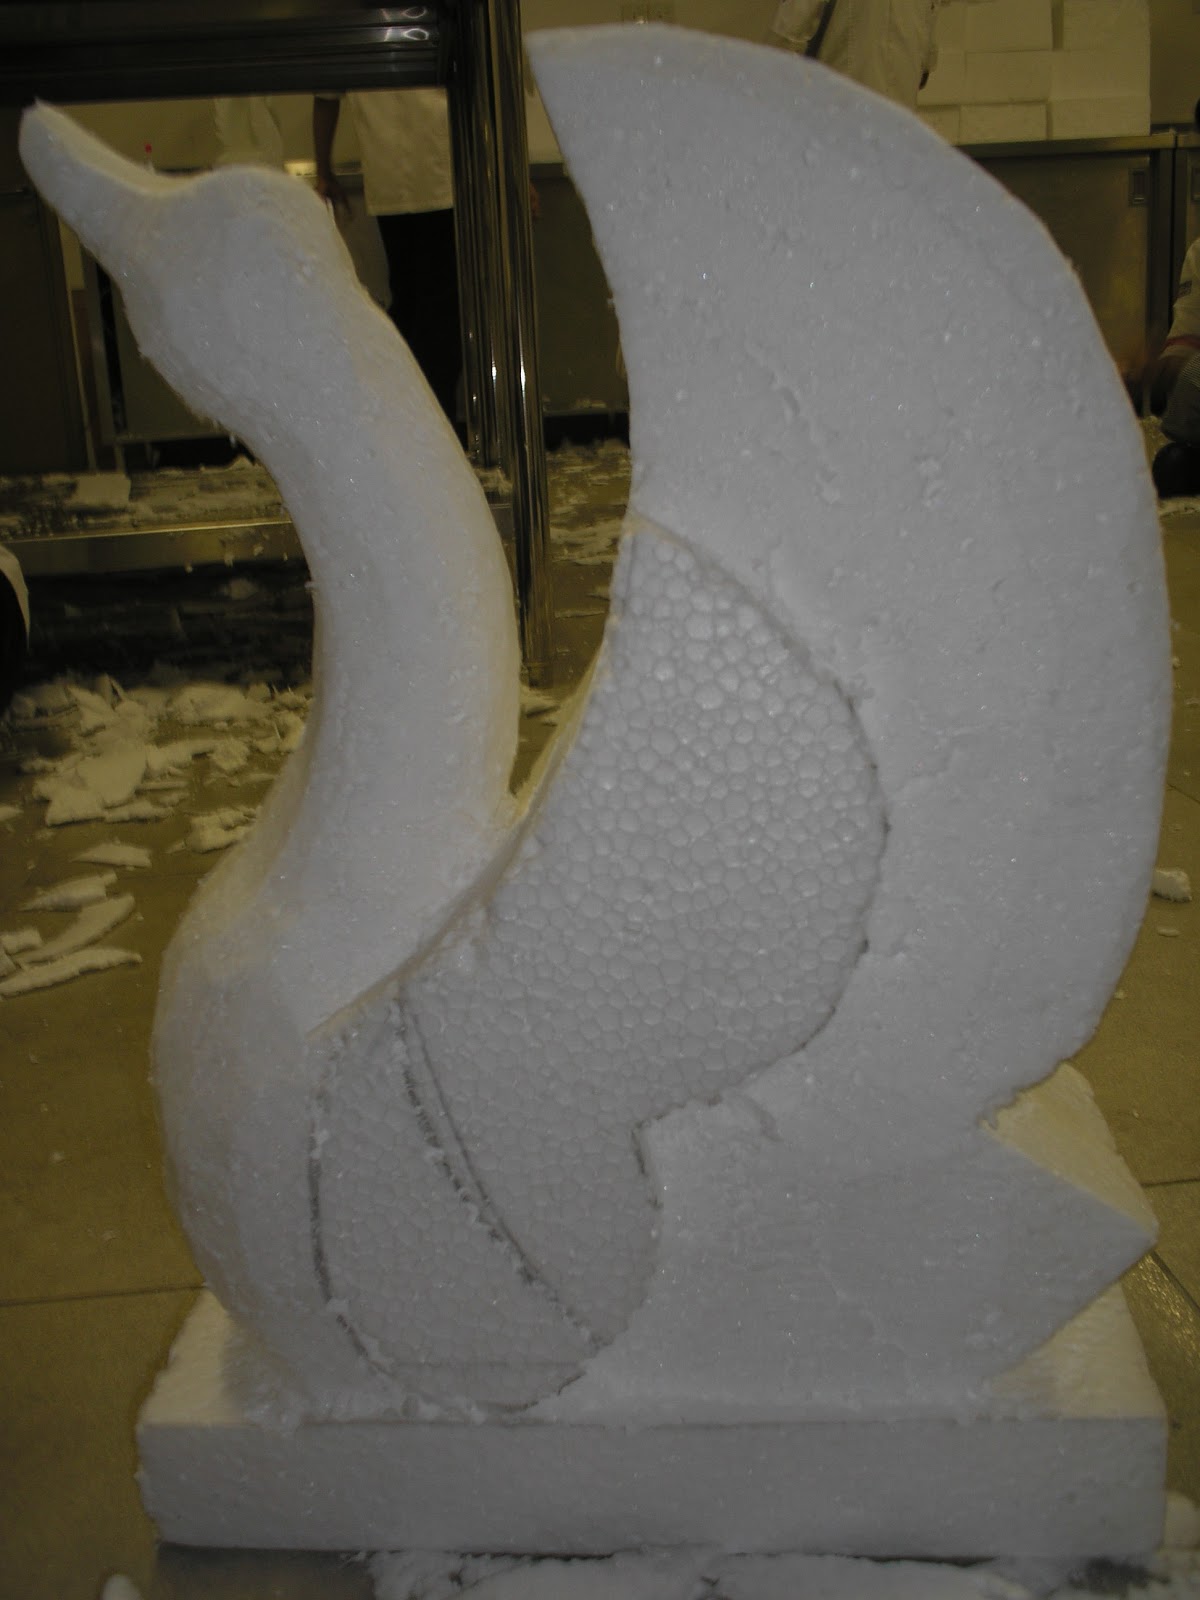
Our skyscrapers & couple
Leafs for flower
For our first time, this steps take our time for whole 8hours of class. Then wait it harden for next week arrangement. Yeah glue time ~
Haidhar checked whether their product break o not
Then after we confirm it harden and strong enough to get assemble. We discuss and then we realized something that it won't be like our sketch. Totally ! so by keeping it the original concept. First we assemble the flower and leafs...
Our first design after assembled
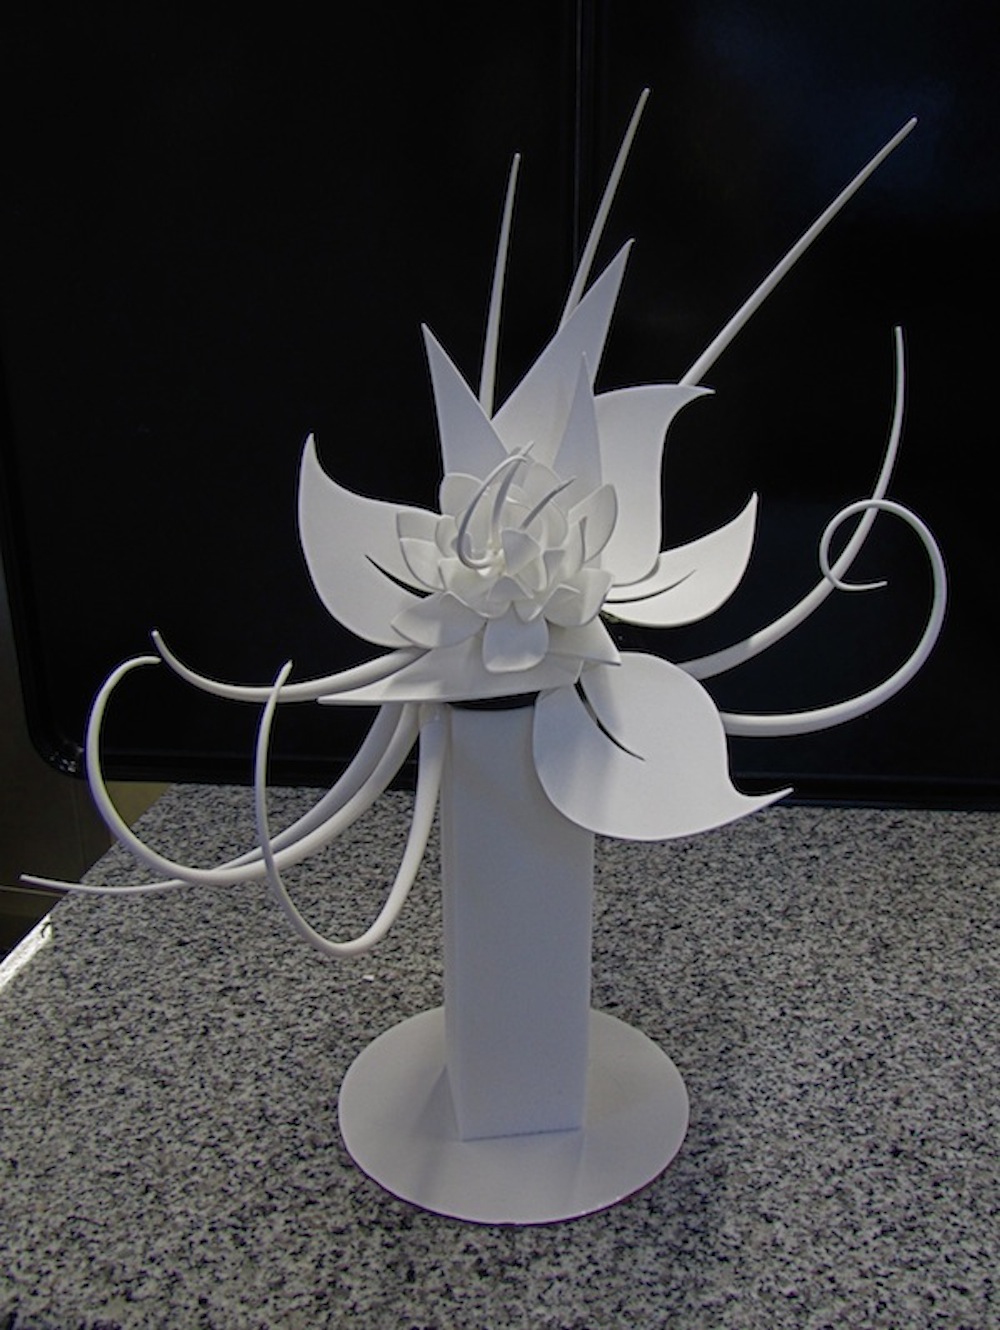
Then we remembered that we have the couple and another two skyscraper. We change our design a bit but keep its hero which is the flower, thank to Fazrul giving the great idea. By using the skyscraper behind, we used it as base so it will become either unique or risky.
Finished product
As expected it beautiful and Alhamdulillah it finish. About 3 week. ^^


Wednesday 12 December 2012

- Ohh Blop Blop Over Coral Reef -

After two weeks of carve the swan, or to be precisely actually two of 8 hours class, we moved to our next product. Fish and Coral Reef. Because we already have the basic of carving. So, Sir Azrul just needed to showed the sketch of the fish and told us which one needed to cut or not. We get the same size of stryrofoam but this time we doing this in team because after carve it, we needed to layer it with butter and called it ButterScuplture.
Rough Sketch of The Fish
Then cut the unused stryrofoam..
Wrongly cut Coral Reef
I was to obsessed and then not realized that i was cut one of the coral reef, then to make up my mistake. From the behind, I carve another coral reef though it is blocked by the fish. But from behind it is looked like this... but after we shaped the fish fin and tail...
Look from behind
Front look
Sir Azrul said it was a good critical thinking of us after doing a mistake. We finish the carve of the fish in a day. And the next class we continue in layering our fish with butter. Butter we used is pastry butter because it soft and are not melting easily like normal butter we use in cooking. First, we cover the fish and everything with butter. Like this...
Plain coated butter
Then Sir Azrul showed us the technic how to make the fish scales..

small chunks of butter
Then one by one shape it on the fish body to make scales..

What to do next? Fill the fish body, Fins and tail with scales. Front to back and leave the coral reef with plain  coated butter.
Front look
From behind look
Our second product after 4 weeks of class is finished.
- Important steps -

Monday 3 December 2012

First Lesson,"HandCraft Swan"

Assalamualaikum WBT to everyone. Welcome welcome to our blog. Purpose of this blog only for one of my last subject which is Culinary Arts Design. My class start at 9am until 5pm, surely have gap for rest solat and lunch. Firstly what we need to do before start the class, choosing partner. In this class we work as a team of 2 people, so I choose Fazrul as my subject partner. Then my lecturer Sir Azrul give a little brief about what we will doing or making during this class. So, straight to the point. Our first product, is swan. made of styrofoam. Each group get 2 of it and for only the swan we need to carve it individual. 

Depends on this finished swan, we need to carve it our self but our lecturer will guide us also to makes sure we are not making big mistakes.
Example by Sir Azrul
This is the styrofoam that we got, and first need to draw or sketch the swan so when we have the guideline and not wrongly cut the part we need and not.
Rough sketch of the swan
Then we showed it so Sir Azrul will correct our sketch. Then we moved on to the next stage by cutting the unnecessary part like this...
Rough cut of the swan
It was bad, I thought at it was a disaster but to truth is, this is the second step of carve a swan. Cutting through the lines we sketch and get the rough looked of the swan. Then we need to carve and get the swan neck and the front body. 
Swan neck
After we get the neck shape of the swan. Slowly we carve its head. Must be really careful because if we do it wrong, you will not get the nice head or maybe if you are unlucky, you will need to start it from scratch.
Swan head
Now we can finally see the face of the swan. Next step, make a line between the swan back, and cutting all through its back. So we can carve its wings next.
From front
Side look
Now we can see the gap at its back, how it looked from front and from side. Again, we need to sketch the wings of the swan, to guide us from making mistakes.
The making of  swan wings 1
Then...

The making of  swan wings 2
Do it for the other side as well and finished it withe the inside, so it will looked like a double of wings, short and long.
Finish product
These are the important steps that I simplify for you ~ Finished...